VTC Cloud Email System for Staff

Introduction

Information Technology Services Divsions (ITSD) announce that the Staff Email System will be upgraded to Cloud-based Microsoft 365 Email System with 100 GB of primary and online archive mailboxes.

Starting from 29 August 2022, all newly joined staff members will have their mailboxes on the new Cloud System by default.

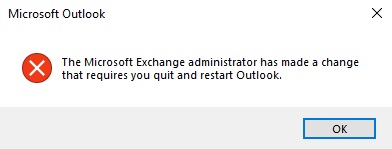
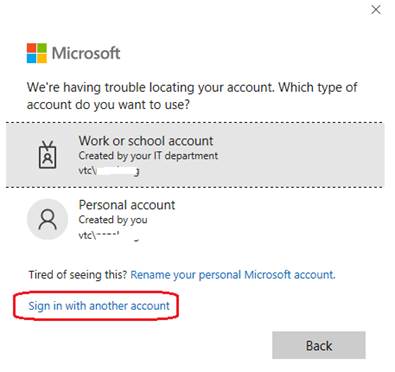
Email migration for general users will be carried out from October to December 2022. A notification email will be sent to you individually before the mailbox migration.

And you may check the schedule below.

Benefits

Top

Video guidelines for using Microsoft Exchange Online Webmail System

Top

FAQ

Q1. After migrate to Exchange Online, I got the prompt on Outlook.

Answer 1:

After migrated to new Staff Email System, you will be prompted to restart your Outlook 1 to 2 times depending on your Outlook version.
Q2. How do I Login to the Exchange Online ?

Answer 2:

  1. Please sign in using your email address (username@vtc.edu.hk even you are THEI user) and password. You should be able to access your mailbox if you are using Outlook for Office 365, Outlook 2016 or Outlook 2013
  2. If the sign in prompt is VTC\username, please select Use a different email address and type your email address (username@vtc.edu.hk) and password
To remove stored credentials and force Outlook to use your Windows desktop credentials, follow these steps.
  1. Click Start, click Control Panel, and then click Credential Manager.
    Note: If View by is set to Category, click User Accounts first, and then click Credential Manager.
  2. Locate the set of credentials that has Outlook in the name.
  3. Click the name to expand the set of credentials, and then click Remove from Vault.
  4. Repeat step c for any additional sets of credentials that have the word Outlook in the name.
Q3. What is the difference for use Outlook 365 ProPlus to connect the Exchange Online?

Answer 3:

If you are using the latest version Outlook (Office 365 ProPlus), you will be prompted Use this account everywhere on your device. Just click Yes so that when you sign in from that device, it does not keep prompting you for credentials across other Office applications. You may also uncheck the option Allow my organization to manage my device before clicking Yes if you don't mind typing your credentials again for signing in.
Q4. How to configure Outlook for iOS / Outlook for Android for Exchange Online?

Answer 4:

You will require to remove your existing account and add a new Exchange account after migrated to Exchange Online

Remove an account from the Outlook iOS app:

  1. Open the Outlook app
  2. Go to Settings and select the account you wish to remove
  3. Tap Delete Account
  4. Delete to confirm
(Video)

Remove an account from iOS Mail App:

  1. Open the Setting of iOS
  2. Go to Mail and select Accounts
  3. Tap on the Email account which being remove (xxx@vtc.edu.hk / xxx@thei.edu.hk)
  4. Tap Delete Account and select Delete to confirm
(Video)

Remove an account from the Outlook Android app:

  1. Open the Outlook app
  2. Go to Settings
  3. Select the account you want to remove
  4. Tap Delete Account
  5. Tap Delete again to confirm
(Video)

Adding an account to the Outlook iOS app:

  1. Open the Outlook app
  2. Enter the full email xxx@vtc.edu.hk and tap Add Account
  3. Enter the password and tap Sign in
(Video)

Adding an account to the Outlook Android app:

  1. Open the Outlook app
  2. Enter the full email xxx@vtc.edu.hk and tap Add Account
  3. Enter the password and tap Sign in
(Video)

Q5. "Something went wrong" message prompted when accessing Webmail System.

Answer 5:

Most of the errors will related to the browsers cache. Please try the login on different browser or clear the browser cache of Webmail System and retry.

Microsoft Edge:
View and delete browser history in Microsoft Edge
(Video)

Chrome:
For clear browser cache of Webmail System
  1. Go to the Site Settings and search "webmail.vtc.edu.hk"
  2. Select Clear displayed data
For clear all browser cache
Clear cache & cookies - Computer - Google Account Help
(Video)

FireFox:
How to clear the Firefox cache | Firefox Help (mozilla.org)
Q6. What are the steps for recreate/Reset existing Outlook profile?

Answer 6:

  1. Open Outlook and select the "File" tab.
  2. Select Account Settings and then Account Settings again to open the settings window.
  3. In the "Account Settings" window that opens, select the "Data Files" tab.
  4. Record the Location column information if it is pointing to a *.pst file
  5. Locate the Outlook profile in [Control Panel] -> [Mail] -> Click [Show Profiles] -> Click [Remove] -> Click [OK]

  6. Launch Outlook and enter the email address to setup the new profile.
Q7. The Outlook client side rule function is lost after the mailbox migration. What should I do?

Answer 7:

User may lost their client side rule function after the mailbox migration if all the below conditions are TRUE :

1. User has opened their PC and keep Outlook running during the mailbox migration
2. User has a client-side rule setup in anyone of the mailboxes they currently connected in their Outlook profile

As we expected Outlook need to be relaunched to reflect the connection to the new Email System, it will probably lead to the mail rule not function anymore.

User should restart the Outlook client and test/refine the rule after the mailbox migration.

User can also rerun the rule by the following steps:
1. On the File tab, choose Manage Rules & Alerts, and on the E-mail Rules tab, choose Run Rules Now.
2. In the Run Rules Now box, under Select rules to run, select the check box for each rule that you want to run.
3. In the Run in Folder box, to select a different folder, choose Browse, choose the folder, and then choose OK.
Select the Include subfolders check box to include all folders under the folder you chose in step 3.
4. In the Apply rules to list, accept the default setting of all messages, or change to read or unread messages.
5. Choose Run Now.

Please refer to the link below which stated out why the rule will become a client-only rule
https://support.microsoft.com/en-us/office/server-side-vs-client-only-rules-e1847992-8aa1-4158-8e24-ad043decf1eb

Examples of common conditions specified in a rule that make it a client-only rule:
- With specific words in the subject
- Marked as importance
- Marked as sensitivity
- Flagged for action
- With specific words in the body
- With specific words in the message header
- With specific words in the recipients address
- With specific words in the senders address
- Assigned to category

Examples of common actions specified in a rule that make it a client-only rule:
- Assign it to the category
- Permanently delete it
- Flag message for follow up at this time
- Clear the Message Flag
- Print it
- Play a sound
- Mark it as read
- Display a specific message in the New Items Alert window
- Display a Desktop Alert
Q8. There is local archive mailbox. What should I do for getting back my email data after migration?

Answer 8:

For re-mount the local archive data file (PST / OST) to Outlook, you may follow the step below.
Locate your local archive mailbox data file (before migration)
  1. Click "File" from the menu of Outlook
  2. Click "Account setting"
  3. On the "Data files" tab, you may found the location path of data file
  4. By default, the data file located in

Re-mount your local archive mailbox data file (after migration)
  1. Click "File" from the menu of Outlook
  2. Click "Open & Export" and select "Open Outlook Data File"
  3. Browser and select the data file which located above
  4. The data file will be mounted as a folder in Outlook
Q9. There is no [Strictly Protected] permission profile in Webmail.

Answer 9:

The Strictly Protected permission profile is not supported for new Staff Email System. You may use the Do Not Forward instead.
Q10. What is Delete Retention?

Answer 10:

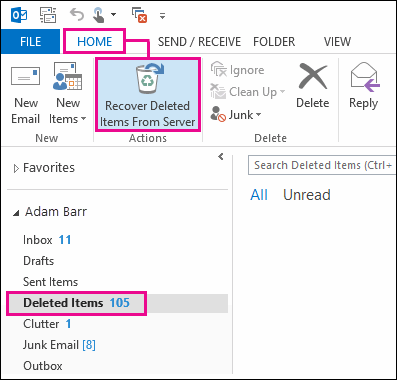
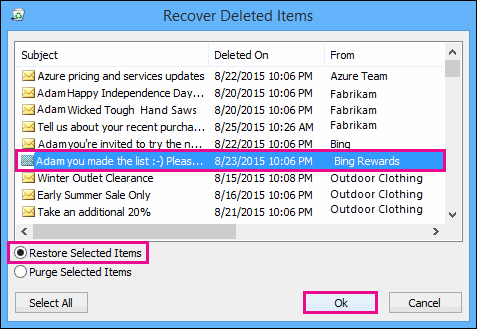
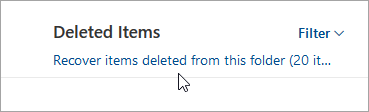
The Staff Email System allowed to recover the deleted email within 30 days. If you have removed the email from your Deleted items folder or permanently delete by pressing Shift + Delete, it can be recovered with the following steps from email server.

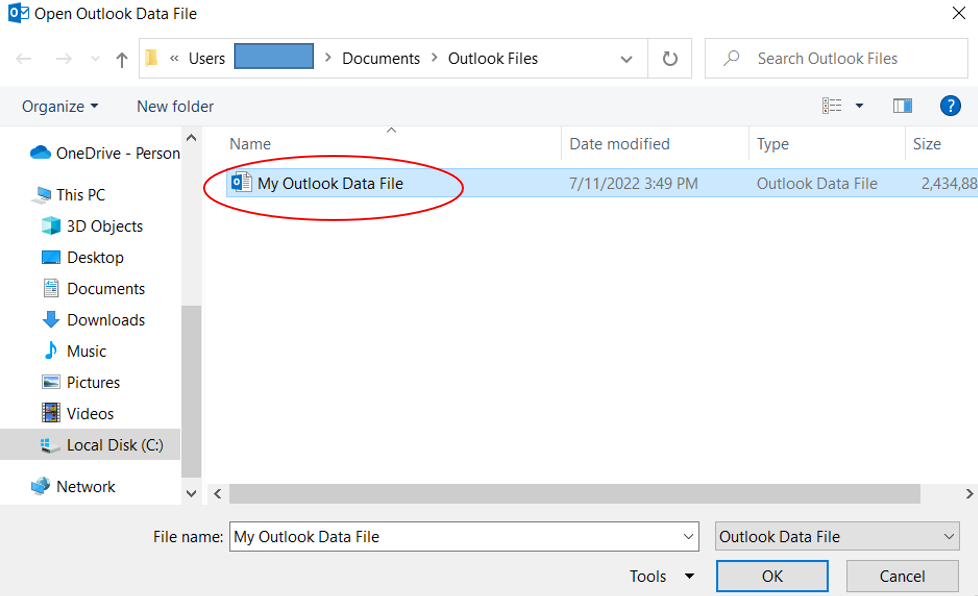
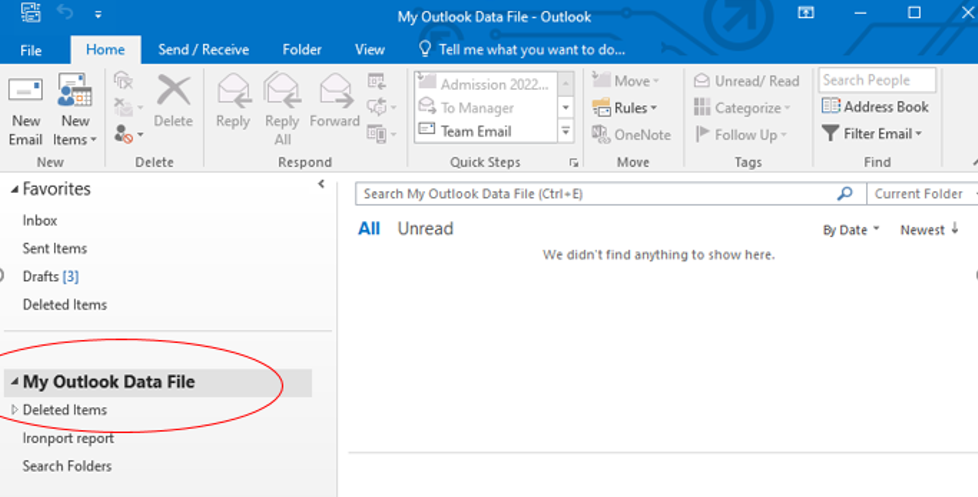
Recover the deleted items in Outlook:

  1. Make sure you are online and connected to the mail server
  2. In Outlook, go to your email folder list, and then select Deleted Items
  3. In the Folder menu, select Recover Deleted Items
  4. Select the items that you want to recover, select Restore Selected Items, and then select OK
(Video)

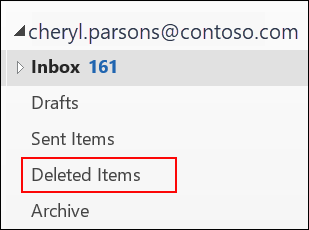
Recover the deleted items in Webmail:

  1. In the left pane, select the Deleted Items folder
  2. At the top of the message list, select Recover items deleted from this folder
  3. Select the items you want to recover, and select Restore

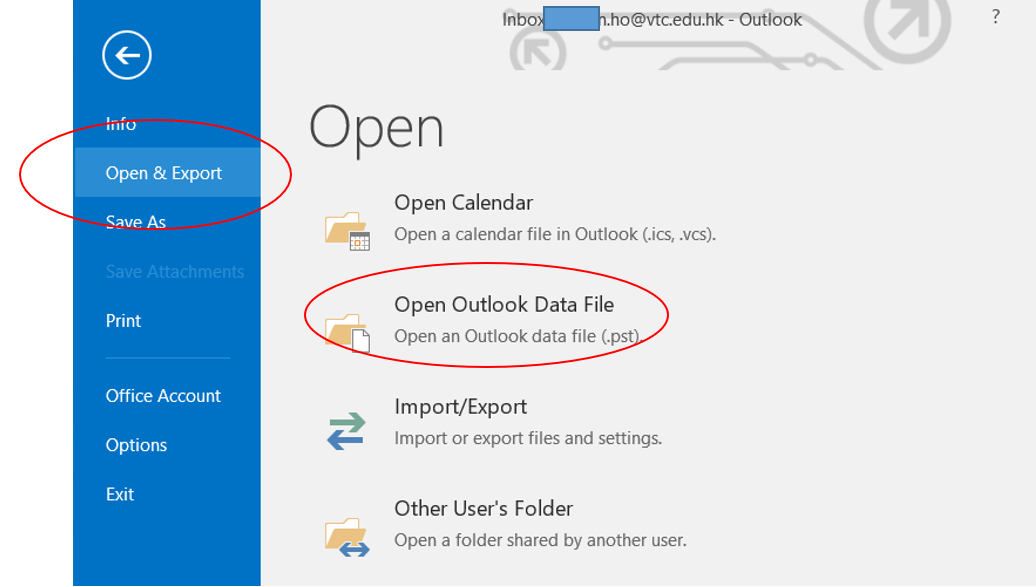
* The items moved from mailbox to local PST storage will be marked as deleted items in Recover Deleted Items folder of email server

Q11. How to check my mailbox usage?

Answer 11:

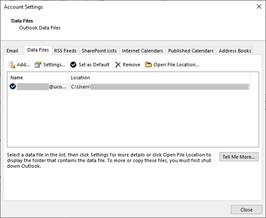
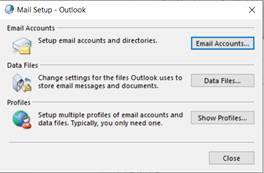
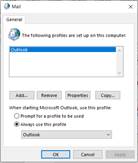
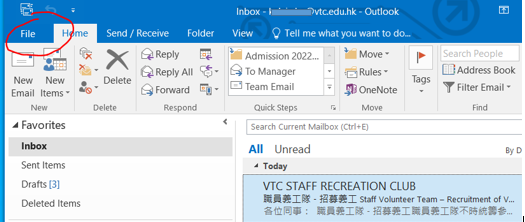
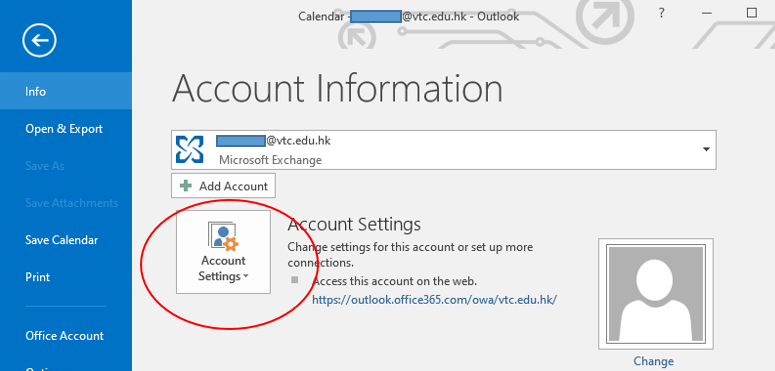
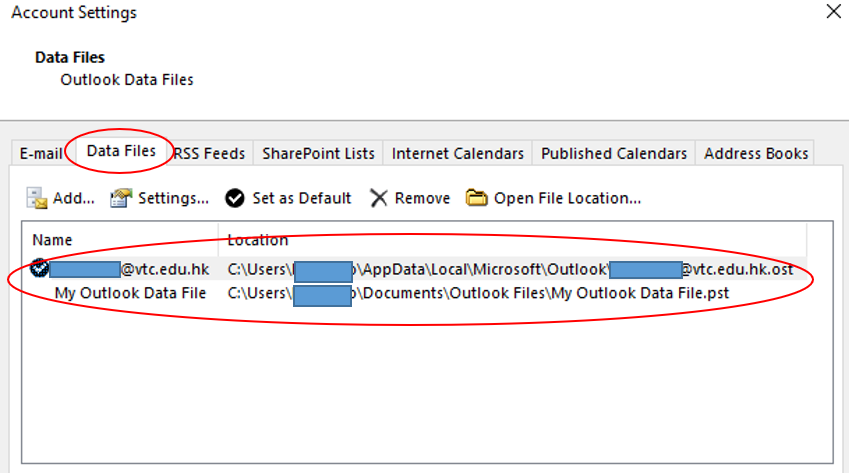
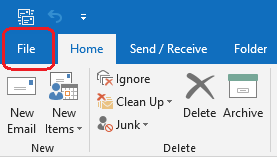
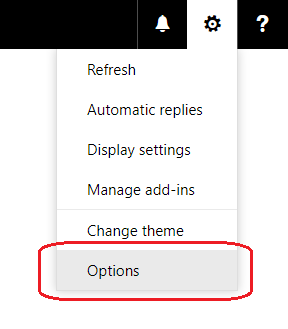
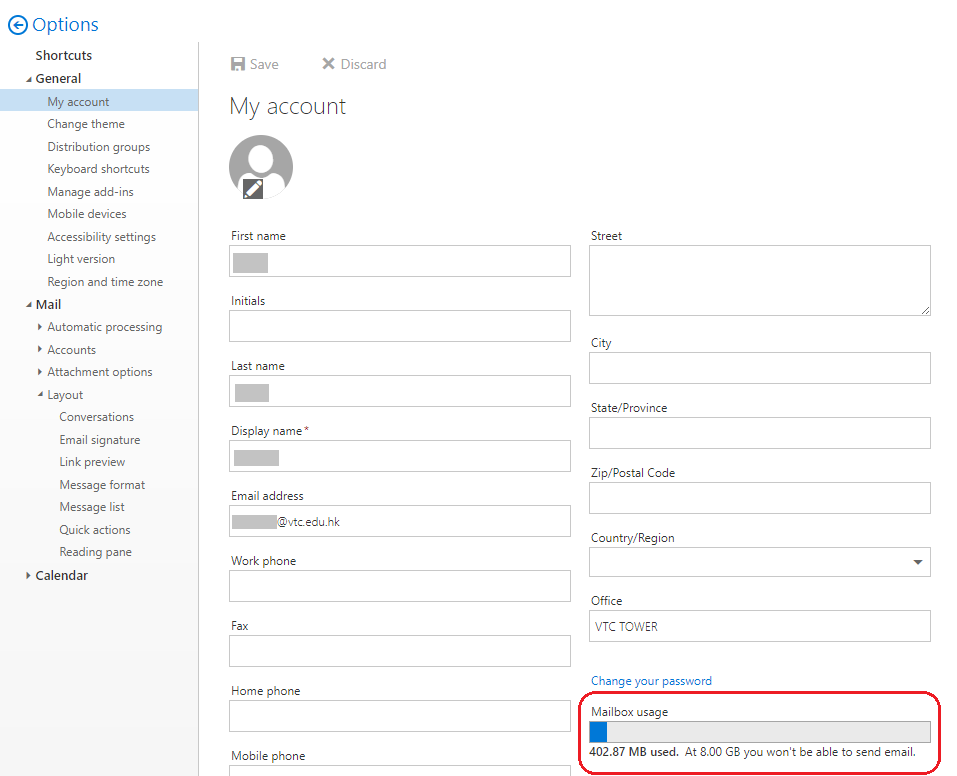
You may check your mailbox usage with Outlook Client or Webmail System.

Outlook Client:

  1. In Outlook, click the File at the left top corner
  2. The mailbox usage will be displayed as below

Webmail:

  1. In the right top corner, select the Setting and select Options
  2. Under the Options menu, click General > My Account
  3. The mailbox usage will be displayed at the bottom of page

12. What is Focused Inbox?

Answer 12:

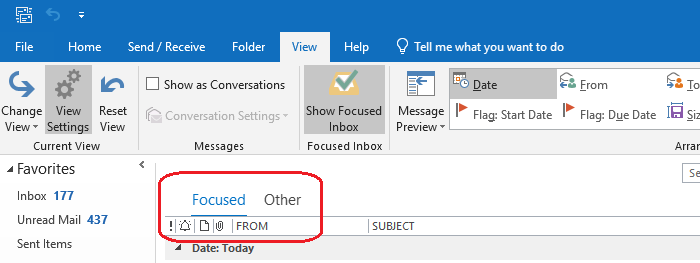
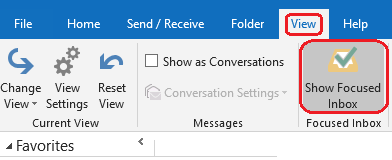
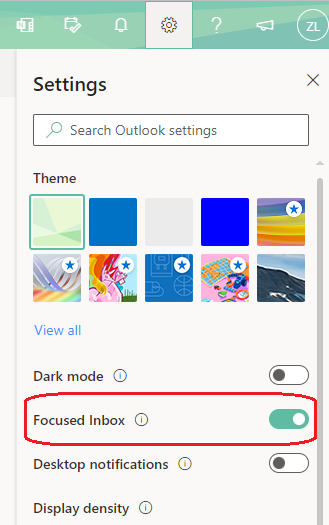
Focused Inbox provides intelligent for analyzing incoming emails and display the most important emails in Focused Inbox and the rest will be displayed in Other. It is avaiable in both Outlook Client and Webmail System.


You may enable the features as below.

Outlook Client:

  1. In Outlook, click the View tab at the top
  2. Select Show Focused Inbox

Webmail:

  1. In the right top corner, select the Setting
  2. Select Focused Inbox

13. How to Enable / Disable the Focused Inbox?

Answer 13:

Enable Focused Inbox

Outlook Client:

  1. In Outlook, click the View tab at the top
  2. Select Show Focused Inbox

Webmail:

  1. In the right top corner, select the Setting
  2. Select Focused Inbox

Disable Focused Inbox

Outlook Client:

  1. In Outlook, click the View tab at the top
  2. Uncheck Show Focused Inbox

Webmail:

  1. In the right top corner, select the Setting
  2. Uncheck Focused Inbox

Top

Roadmap

Pilot Migration

2022
Q1
Mar
ITSD (Completed)
Q2
Apr
Campus Support Staff (Completed)
May
Campus Coordinator Staff (Completed)

Mass Migration

Q3
Aug
New Staff User (Completed)
Sep
Form Request Users
Q4
Oct
Usage 80% Up Users (Completed)
Nov
Usage 60% Up Users (Completed in Oct)
Dec
Remaining Users and Others (Completed)


* How to check my mailbox usage?

Top

Support Information

ITSD Helpdesk Services
Email Address: itsd-helpdesk@vtc.edu.hk

IT Campus Support
Website: Campus IT Services Support

Top